When I started teaching a self-contained class, one of my biggest concerns was addressing the diverse needs of my students in order for them to access their grade level curriculum. Some subjects, like Language Arts, lend themselves to more whole group activities, as the skills across the grade levels are similar. Then, there was Social Studies. Teaching students in 3 grade levels, and knowing some students might eventually make the leap to In-Class Resource, I knew I had to each my students the grade-level curriculum. But how could I teach Ancient Civilzations and American colonies at the same time? I tried many different techniques for small group instruction and independent practice. Some worked, some didn't. Then I attended a workshop in October that introduced me to BlendSpace. BlendSpace is a website that allows teachers to combine resources such as videos, images, and text, and put it all in ONE PLACE!
This is an example of a BlendSpace I created on The Fertile Crescent. The red circles indicate a video resource, and the green circle indicates a picture. The last box is a multiple choice quiz designed to monitor comprehension of the material which is automatically graded and gives immediate feedback to the student upon completion. So how do I use it in my classroom? While I am providing direct instruction to my American History group, my Ancient Civilzations group would use their Chromebooks to access the blendspace via Edmodo (a BlendSpace app is available in the Edmodo app store, which links the two and makes it easy to share with your class). Although I use it primarily with Social Studies, you can easily adapt it to any subject area. How do you make one of your own? It's very simple! Watch my tutorial below.
Try using a BlendSpace in your classroom! Leave a comment and let me know what topic you chose! Until next time...
Let me preface this entry by saying that here in Belmar, we have the awesome privilege of receiving bi-weekly Google PD from Google Certified Trainer +Rich Kiker, and our Dynamic Tech Duo- +Pamela Lockwood and +Kevin O'Donnell . The opportunity to be exposed to new apps, tools, extensions, features, etc. and to be given the TIME to play with them has been such a great experience. Today we were introduced to the Research Tool in Google Docs. My initial (and still current) reaction- A lifesaver! A god-sent! A real game changer for my classroom! How does it work? In Google Docs, navigate to the Tools tab, and select Research.
You will open a side-tab inside your document that will allow you to look for information, photos, quotes, definitions, scholarly articles, and tables that have to do with your research topic.
Another built-in feature that is going to work really well in my classroom is the ability to automatically cite websites and images. Looking at the Research tab, click the down-arrow to open the Citation preferences.
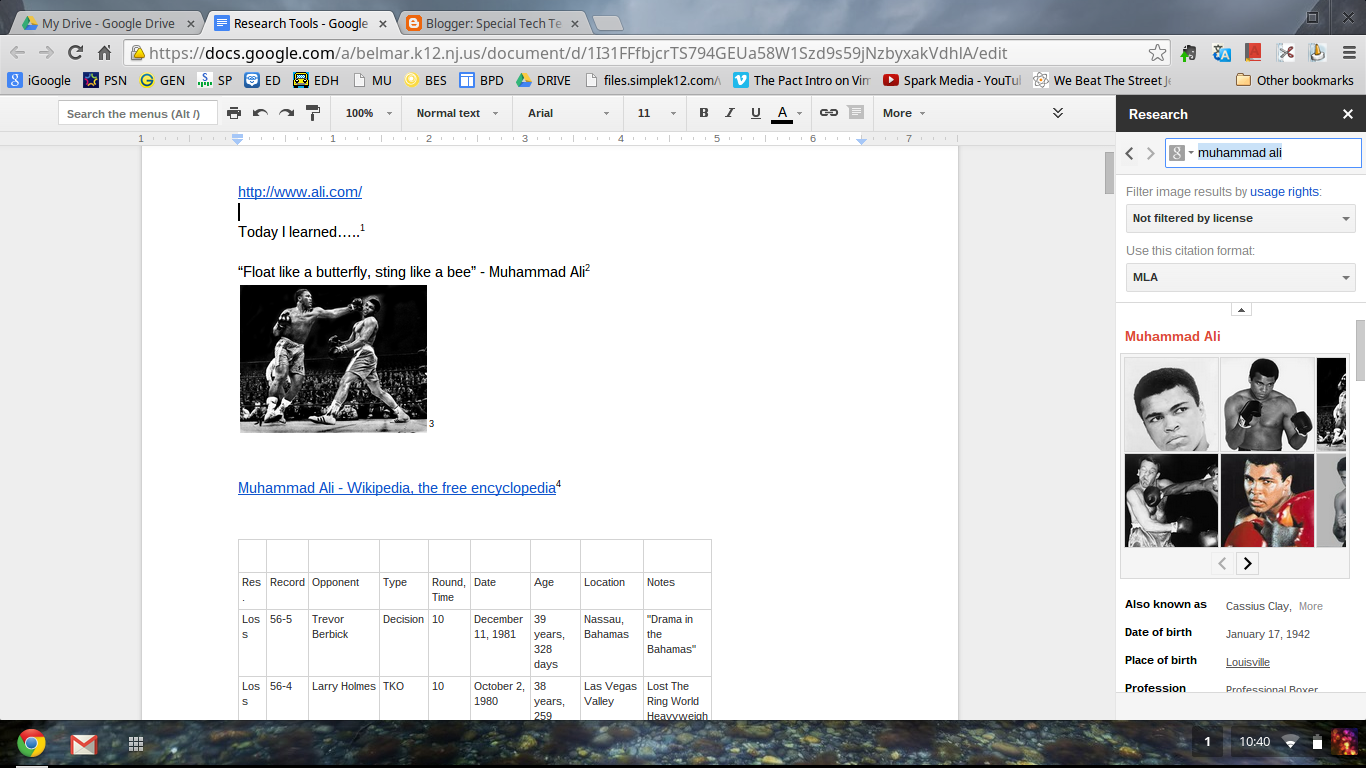
Here you can change the citation format to fit your assignment. We are just beginning to use MLA format, so this feature is going to be HUGE for our upcoming Biography project unit. Below is a sample of some information I found on one of the Biography subjects my students will be researching, Muhhamad Ali. I was able to find information, a quote, a picture, and a table of all of Ali's wins and losses. Notice that next to each piece is a footnote that has the MLA citation. I am so excited to use the Research tools with my students!
I only wish this had been around when I was in college! Leave me a comment, and let me know how you plan on using this feature in your classroom! Until next time!